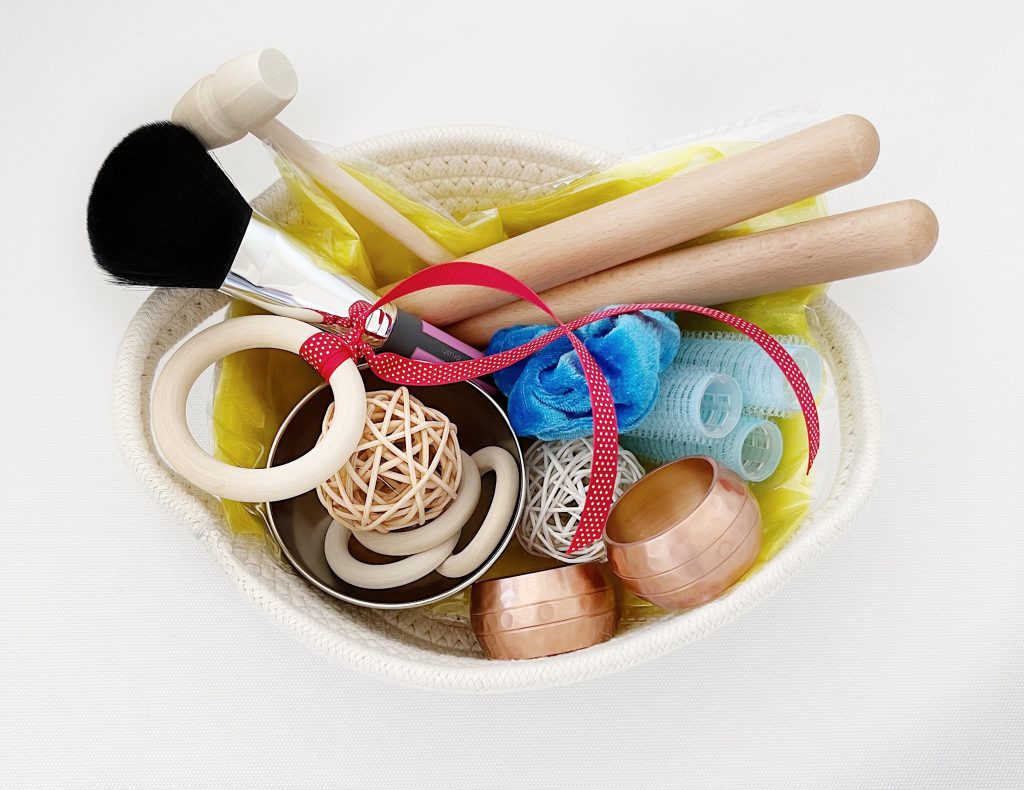
3 Baby & Toddler Play Ideas Using Loose Parts
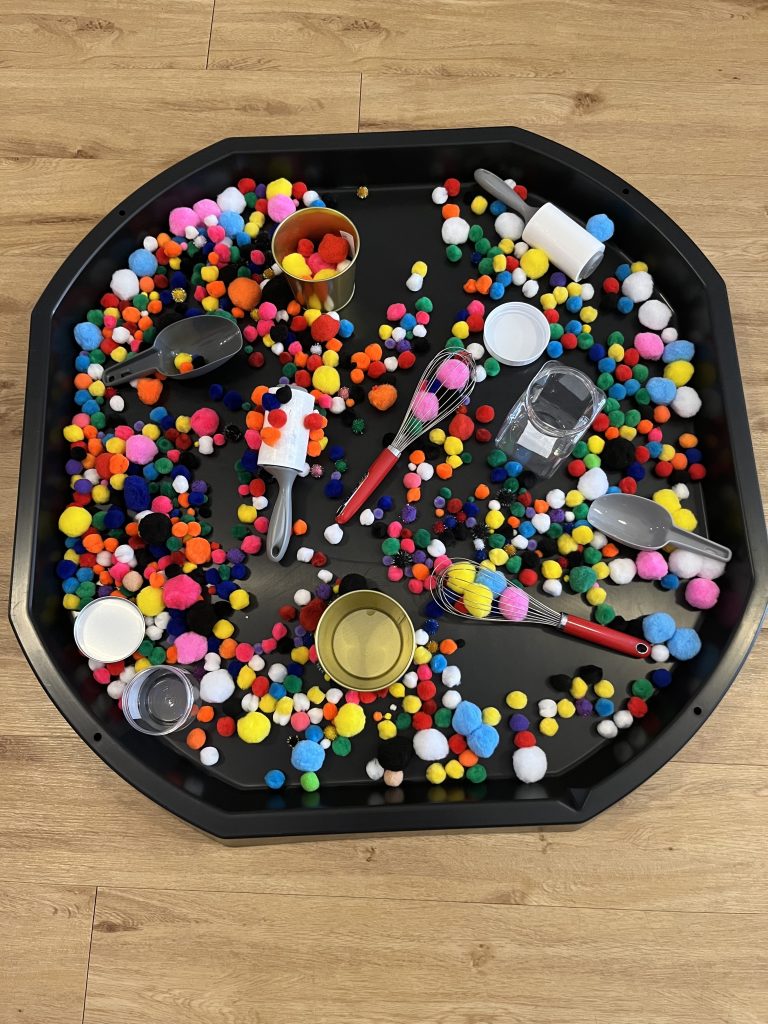
Here are some simple activities to try with your toddler that are low cost, low prep and highly engaging. The best part is, you probably have many of these items in your home already but haven’t considered using them as toys before. Loose parts, or open-ended materials, are easy to collect, can be used in so many ways and are very exciting to play with. I have set up all of these play invitations many times before, for my own daughter and in classes I teach, and they are always so well received!
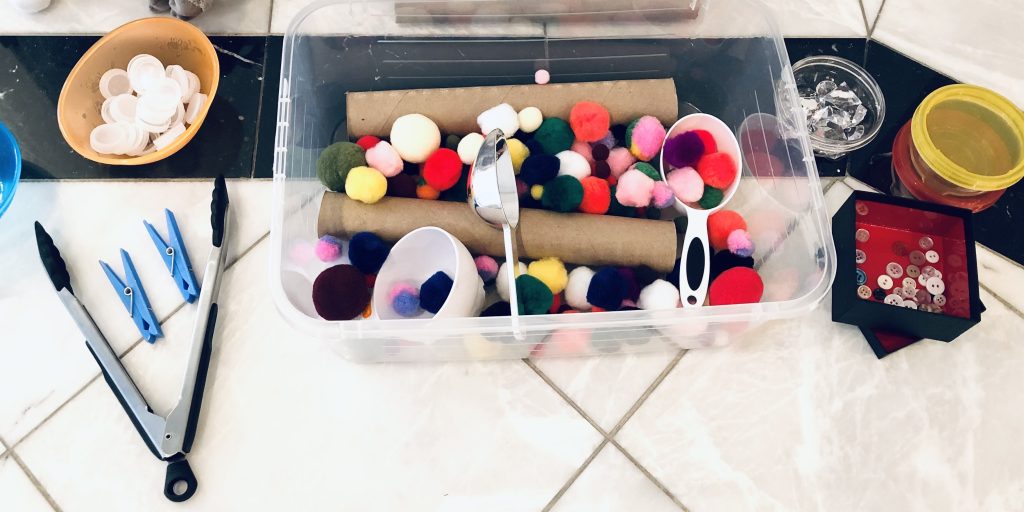
Muffin Tins and Balls
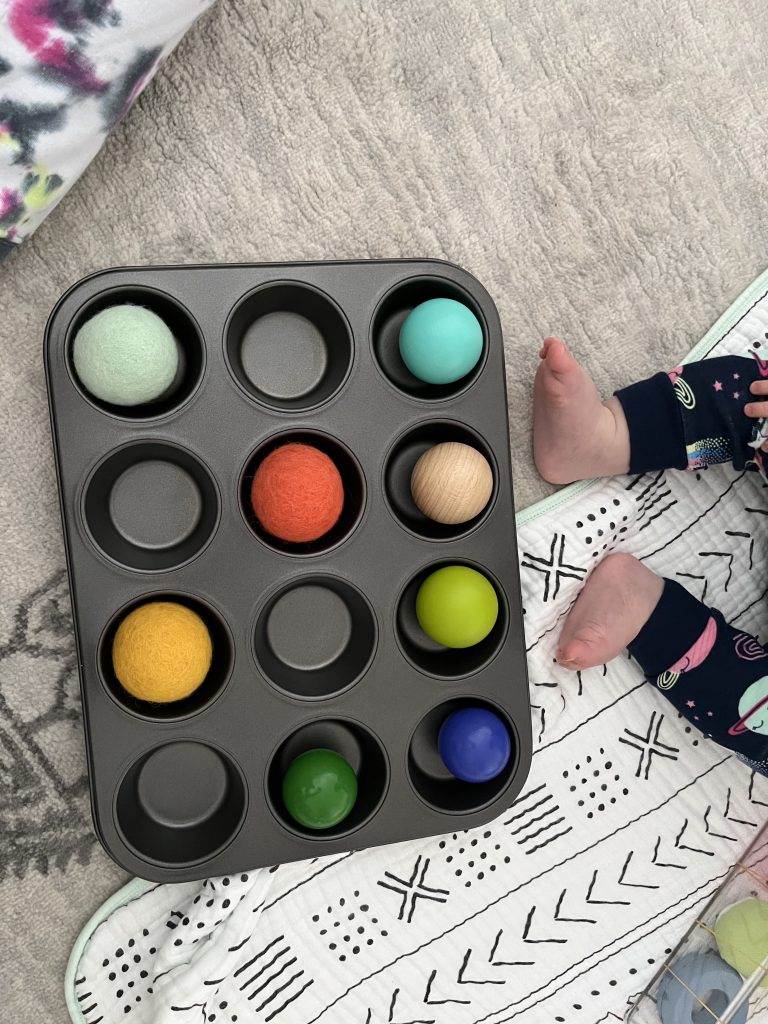
Does your baby or toddler enjoy putting objects into containers? If so, this is the perfect activity to try. Grab a muffin tin from your kitchen and you’ve got yourself a great play invitation for your baby or toddler! For babies between the ages of 8-11 months, fill the muffin tin with balls and place the tin in front of your baby. Encourage your baby to take the balls out. Putting the balls back in the tin is a little tricker and may take longer to master that task. I have done this activity with 20-month-olds as well and they enjoy it just as much! With toddlers, you can also introduce some math concepts and literacy by counting the balls and naming the different coloured balls.
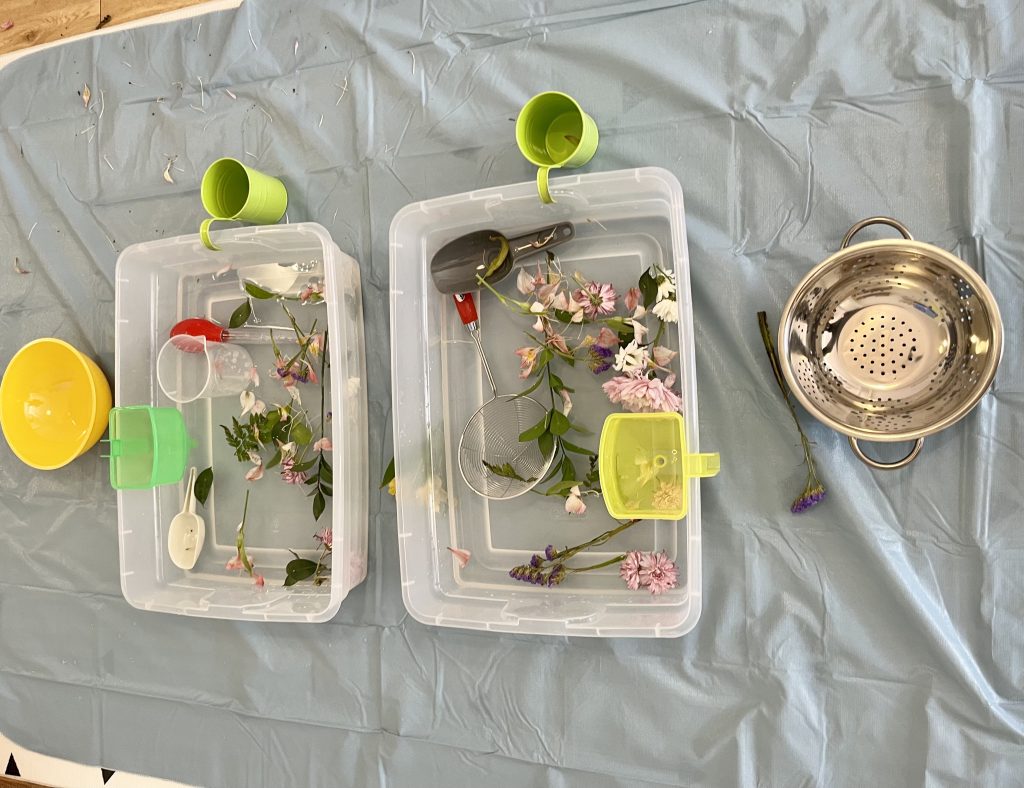
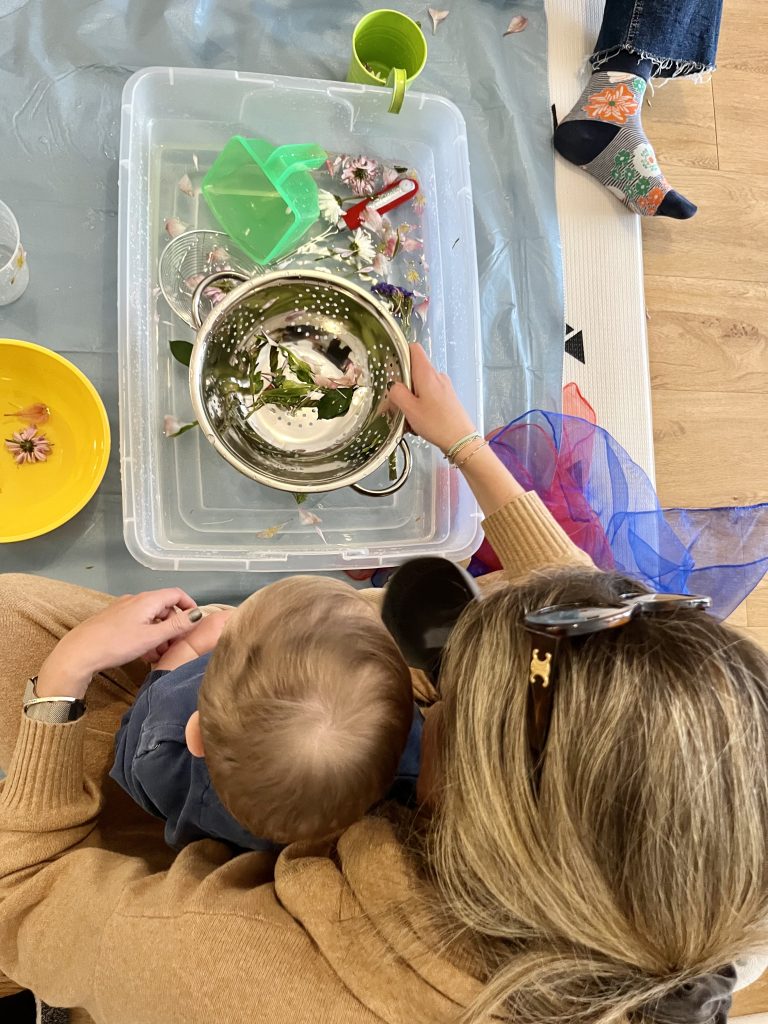
Pipe Cleaners and Colanders
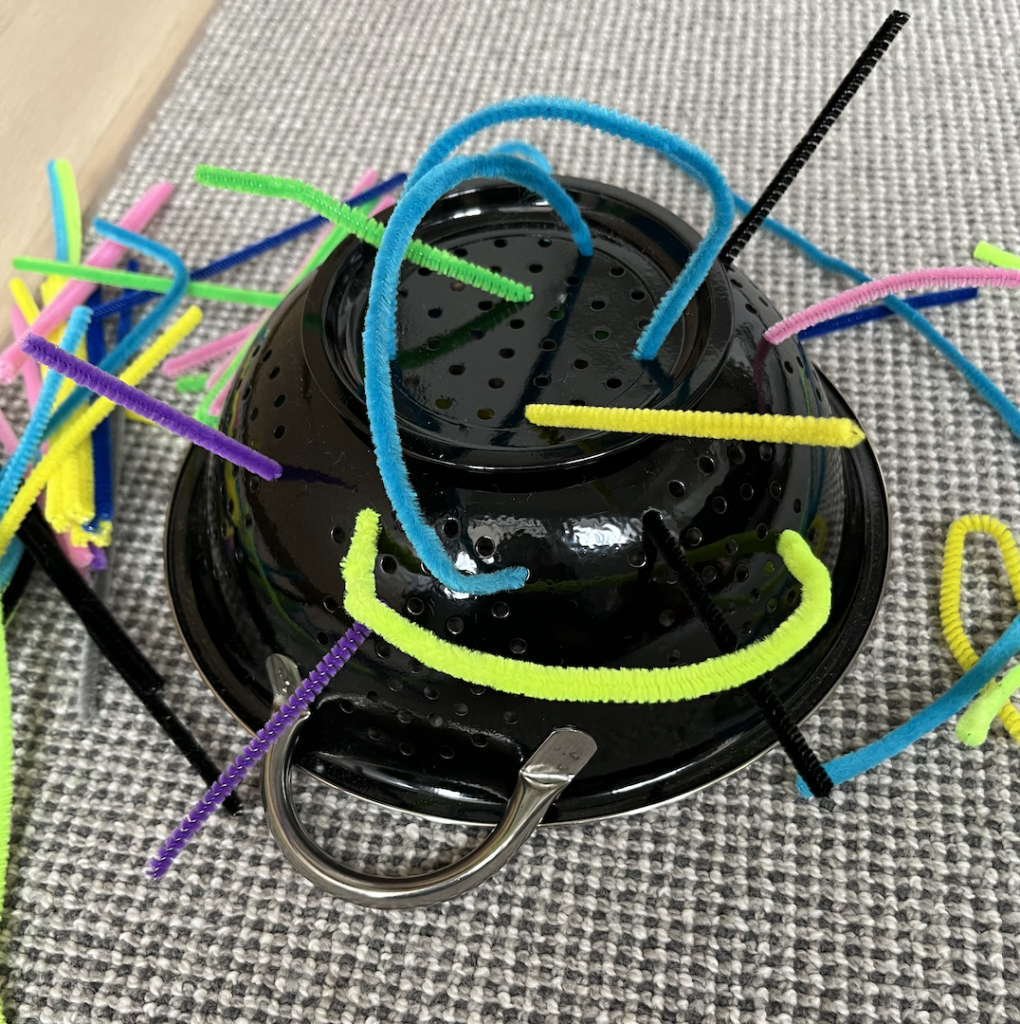
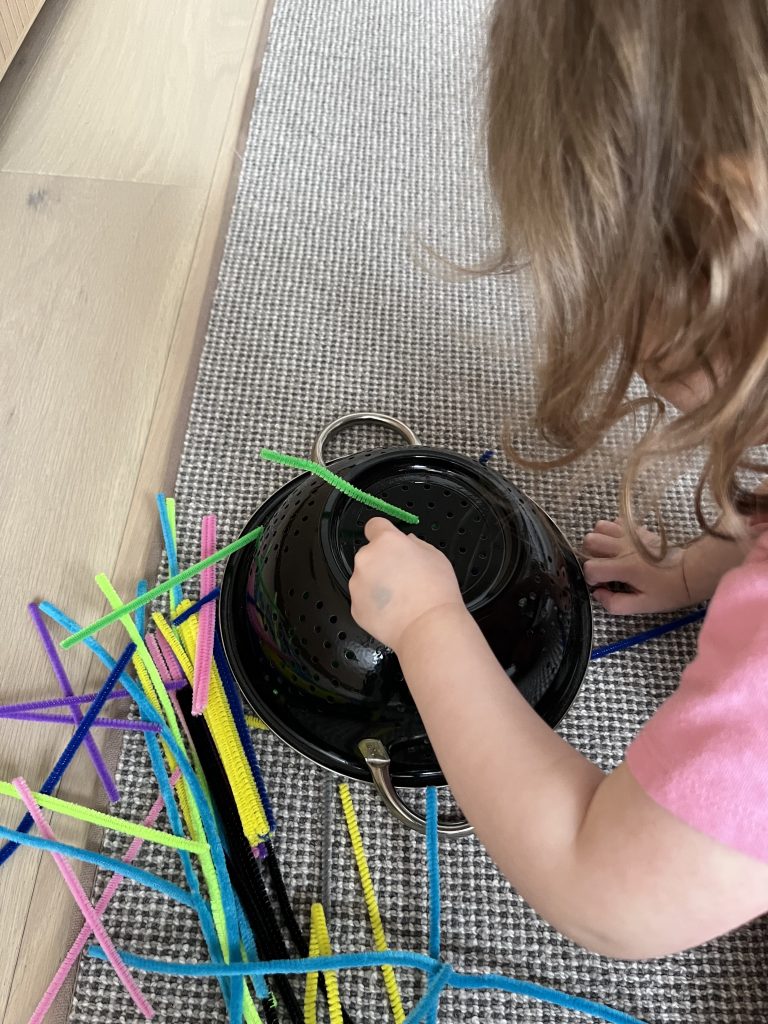
Here’s a no prep activity to try with your little ones! All you need is a colander and some pipe cleaners. Encourage your little one to stick the pipe cleaners in the holes of the colander. It’s harder than it looks and requires patience, hand eye coordination and fine motor skills. For younger toddlers, place the pipe cleaners in the colander for them and encourage them to pull the pipe cleaners out. As they get older, and their fine motor skills increase, they will find it much easier to place the pipe cleaners in and out of the holes of the colander independently.
Tip: give your child time to explore the materials. They may end up doing something completely different with the pipe cleaners. That’s the beauty of open-ended materials!
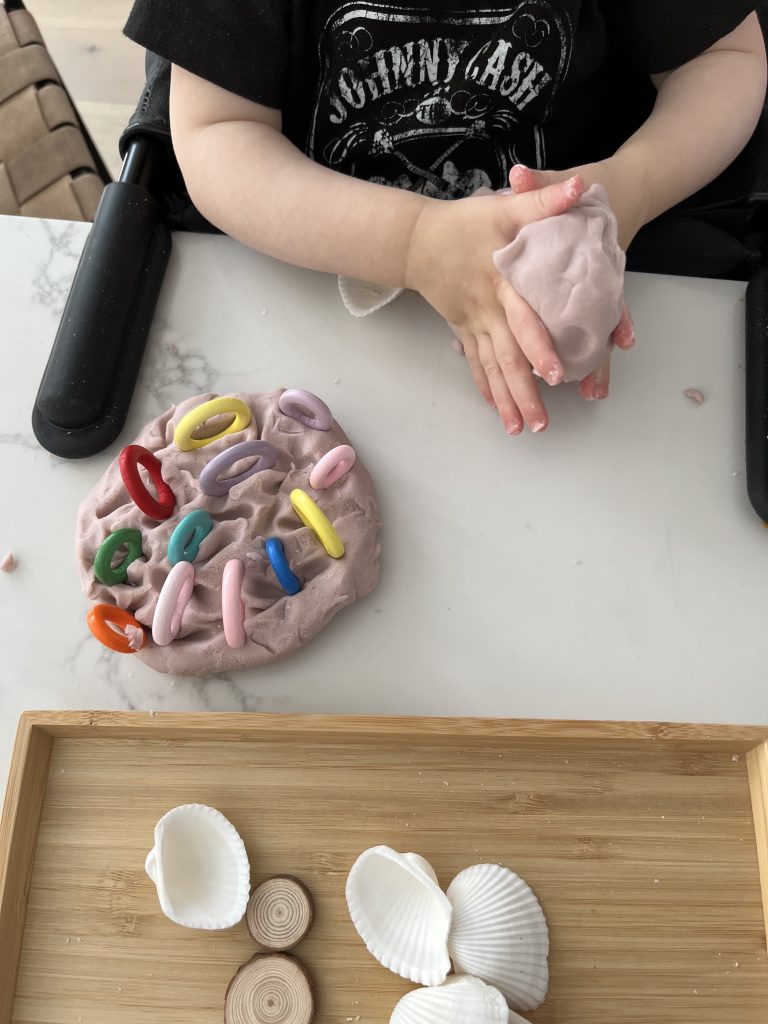
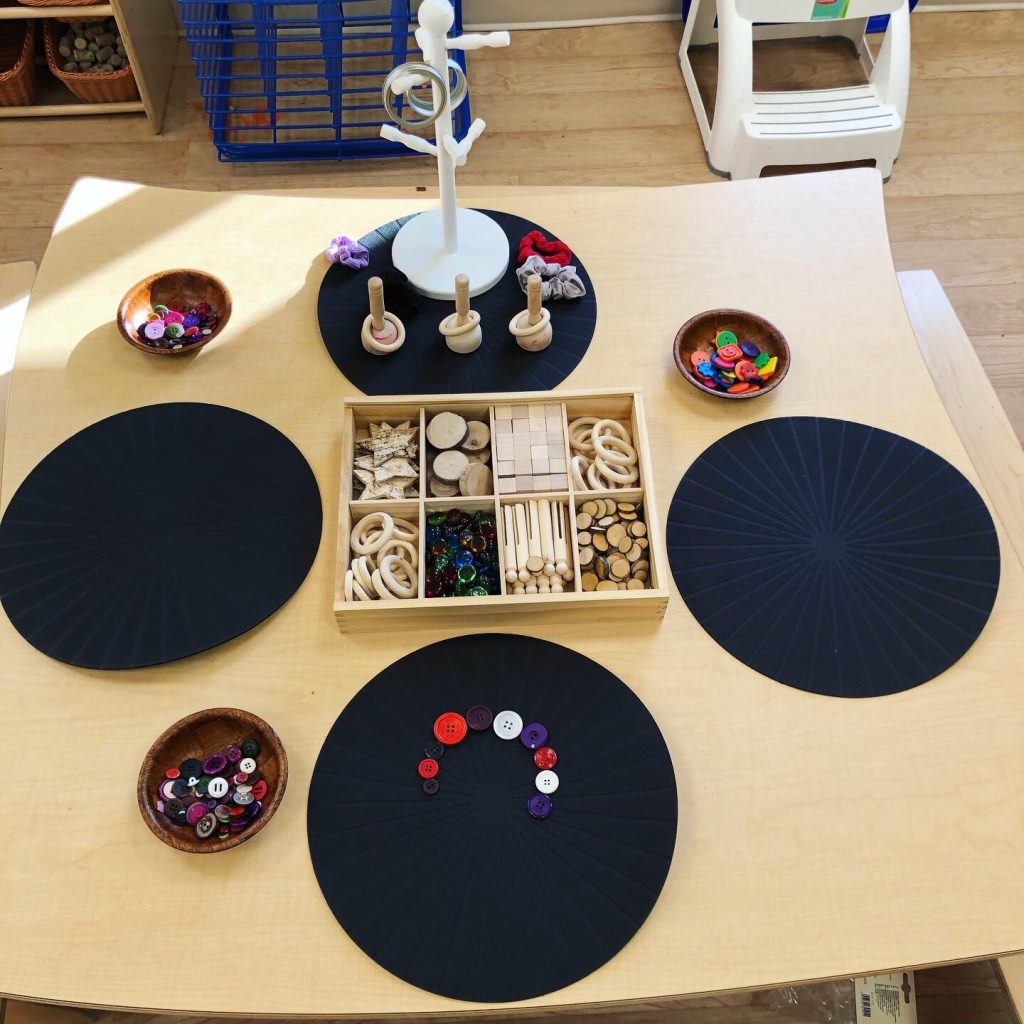
Stacking with a Paper Towel Holder
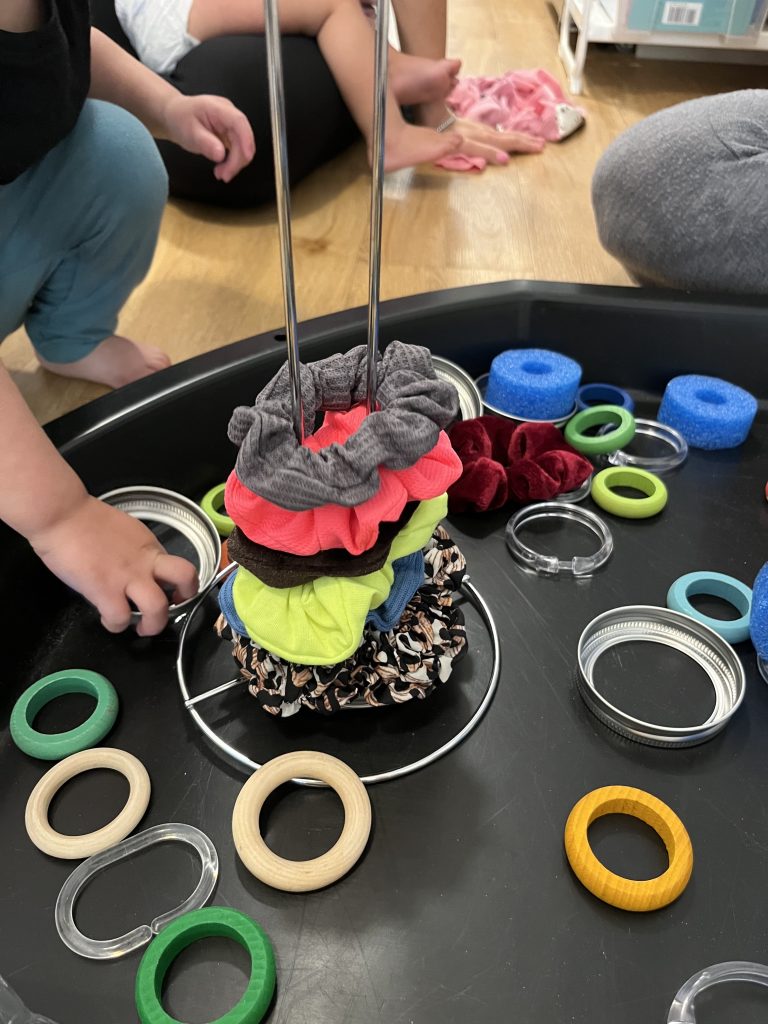
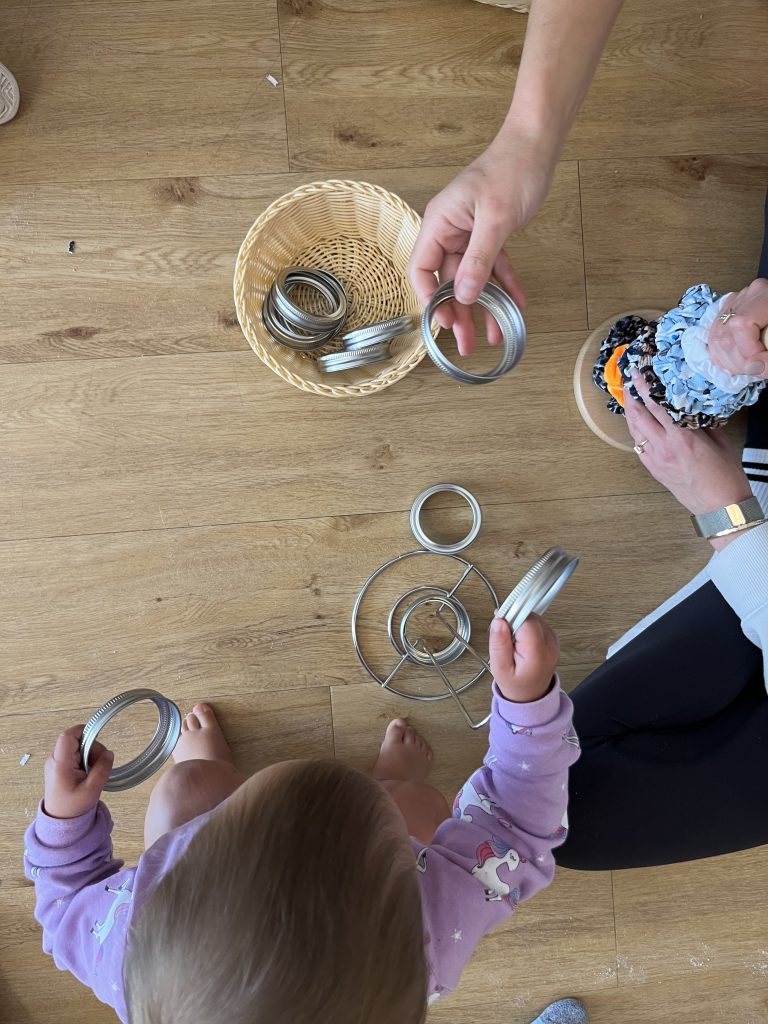
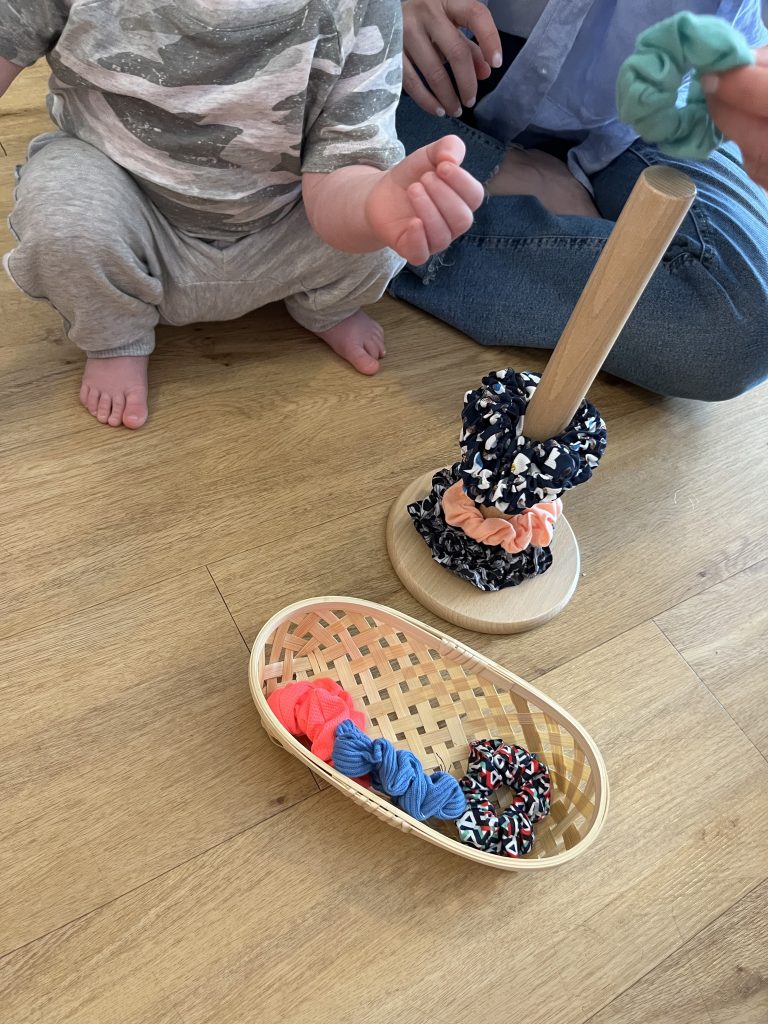
Stacking toys are very popular but can be on the pricier side. Did you know you can make your own using a paper towel holder? Yes, it’s that simple! All you need is a paper towel holder and items that are ‘circular’ that will fit over the holder. I love using hair scrunchies, mason jar rings, wooden rings and shower curtain rings. With babies, you may wish to start with the items already stacked on the paper towel holder and encourage them to take the items off. For toddlers, I like to present the items for stacking in a basket so they have the freedom to put them on and pull them off the holder.